W89 – Leaflet | Hydro-expansivity 1/2
W89 - Hydro-expansivity 1/2
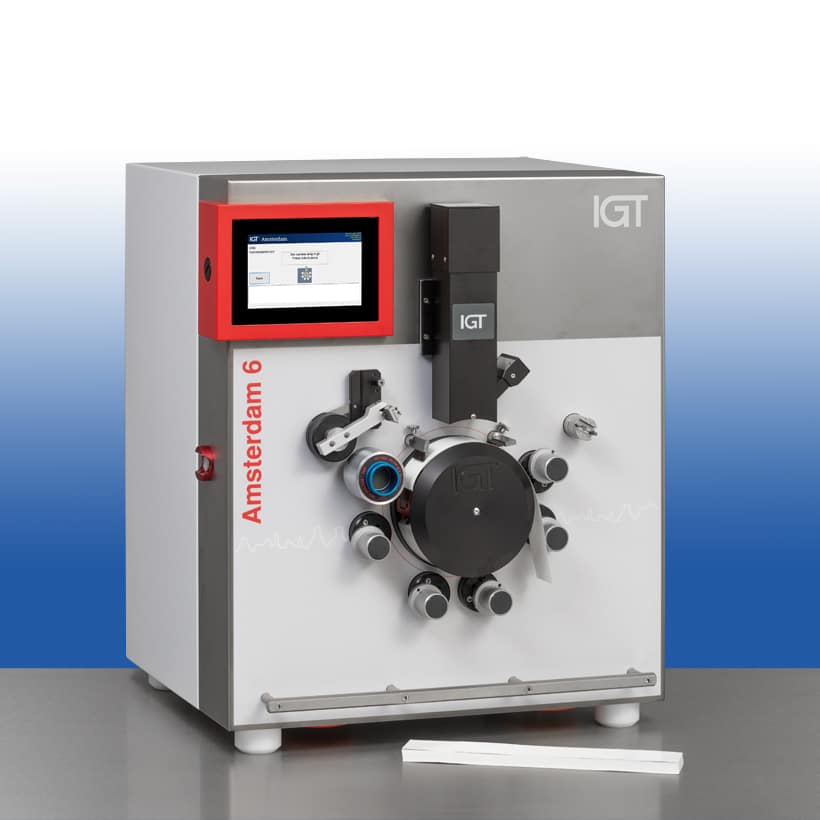
AMSTERDAM - Multi-purpose printability tester
Version: 2023-06
Introduction
This leaflet W89 describes a testing method in which a paper strip of a known length is dampened with a film of fountain solution. After a specific time the length is measured and the increase is calculated. In this test the liquid film, the number of wettings and the number of measurements can be changed as well as the speed and pressure.
There are two methods:
1. Hydro-expansivity1: the test strip is dampened only one time and scanned a number of times with preset interval times.
2. Hydro-expansivity2: the test strip is dampened and directly thereafter scanned for the 1st time, this cycle of dampening and directly scanning is repeated for a number of times with preset interval times.
Principle
A test strip is marked with two lines at a distance of about 100 mm. This strip is mounted on the impression cylinder (sector) of an IGT printability tester of the type AMSTERDAM 1, 2, 5 or 6. The distance between the two lines is measured after an initial scan, the strip is dampened with a fountain solution of a well-known film thickness and thereafter the strip is scanned online again. From the two scans the expansion of the paper strip is calculated.

Method of operation
Materials
- [402.354.010] Dampening disc 1,00 µm
- [435.031.412] Doctor blade holder
- [180.431.710.001] Doctor blades
- [404.009.013] Astralon strip 55 mm
- [404.001.027] Template to draw 2 parallel lines
- 5 strips of substrate to be tested, dimensions 55 x 340 mm
- Fountain solution
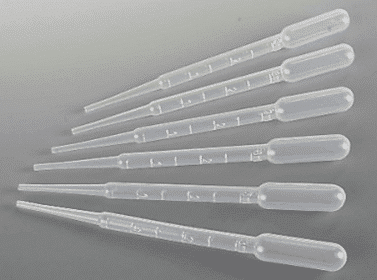
- (disposable) ink pipettes
- Cotton pads
- Lint free rags
- Ethanol
Testing conditions
Standard test atmosphere according to ISO 187 (23,0 ± 1,0 °C and 50 ± 2% RH).
Sample conditioning
Be aware of the fact that a different way of conditioning of the samples can have influence on the results.
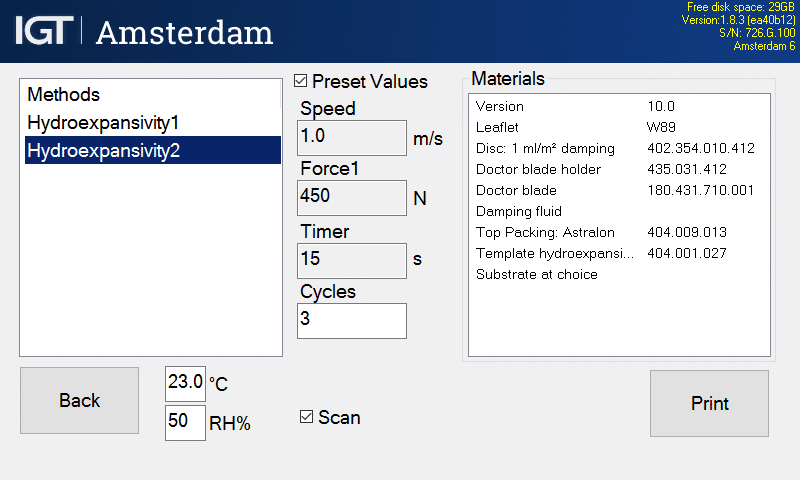
Standard settings
AMSTERDAM – multi-purpose printability tester
- Printing speed: constant, 1 m/s Printing force: 450 N
- Interval time 15 s
- Number of scans: at choice
- Camera lamp high (Not applicable for Amsterdam Basic type)
- Checkbox Scan activated (Not applicable for Amsterdam Basic type)
Preparation

- Cut paper strips of 55 x 340 mm and mark with top and/or bottom side, machine and/or cross direction and a code for the paper.
- Select method Hydroexpansivity 1 or Hydroexpansivity 2.
- If desired, touch the checkbox Scan to scan and save.
- If desired, enter the number of cycles:
Hydroexpansivity 1: n cycles = (n+1) scans of the dampened paper.
Hydroexpansivity 2: n cycles = (n+1) dampening and scanning of the dampened paper. - Mount the Astralon strip on the sector.
- Mount the doctor blade into the blade holder.
- Place the blade holder onto the two pins of the accessory holder.
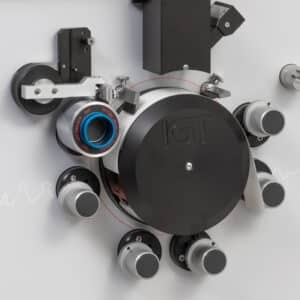
- Place the dumping disc on the 1st printing disc shaft of the tester.
Execution
- Touch the button [PRINT].
 Draw two dark, parallel lines on the test strip at about 140 mm and 240 mm from the beginning of the test strip; use the template.
- Mount the test strip over the Astralon packing on the sector of the Amsterdam.
- Press both side buttons to move the camera downward to make a scan of the dry paper, to move the sector into the wait position (and for the 1st test to move the blade on the dampening disc).
- Release both buttons; at this moment the scan result of the dry paper is analyzed.
- Place a small strip of cotton pad (5 x 50 mm) just left of the doctor blade on the dampening disc.
- If necessary apply some drops of fountain solution on the cotton strip with the help of a (disposable) pipette.
- For Hydroexpansivity 1:
- Press both side buttons to pre wet the engraved disc, to dampen the test strip and to make a scan of the wetted strip after the preset time.
- Keep pressed both buttons; the results of the scan are analyzed and the sector will rotate for the remaining number of scans (cycles).
- After the last scan release both buttons; if the last scan has been analyzed the camera moves upward.
- For Hydro expansivity 2:
- Press both side buttons to pre wet the engraved disc, to dampen the test strip and directly thereafter to make a scan of the wetted strip.
- Keep pressed both buttons; the results of the scan are analyzed and the sector will rotate for the remaining number of dampening’s and scans (cycles).
- After the last scan release both buttons; if the last scan has been analyzed the camera moves upward.
- Save or discard the results.
- Take off the test strip from the sector.
- For the next test start from point 2 or touch [BACK] to lift the camera and doctor blade and start from point 1.
- It is recommended to perform the test at least five times per sample.
 Draw two dark, parallel lines on the test strip at about 140 mm and 240 mm from the beginning of the test strip; use the template.
NOTE: Make sure that the amount of fountain solution is sufficient for the number of wettings and for each test!
Cleaning
- Clean the dampening disc and doctor blade with ethanol.
Assessment
The results are automatically analysed and shown in the display. Data are given for each scan before and after every dampening.

Magnification of the scan via touch screen is possible.
Touch the textbox [Batch] on the left of the display, fill in the information and push [OK] save both data and image push [OK] again.
Afterwards the data and images can be transferred to a USB stick. For the correct procedure please refer to the manual of the Amsterdam.
Data are saved in a CSV format that can be loaded into Excel. Images are saved as PNG files. The data will relate the results to a specific image to enable you to combine both.
Randstad 22 - 02
1316 BX Almere
The Netherlands
P.O.box 22022
1302 CA Almere
The Netherlands